From Brush to Print: How to Transform Your Watercolor Paintings into Stunning Surface Pattern Designs with Procreate
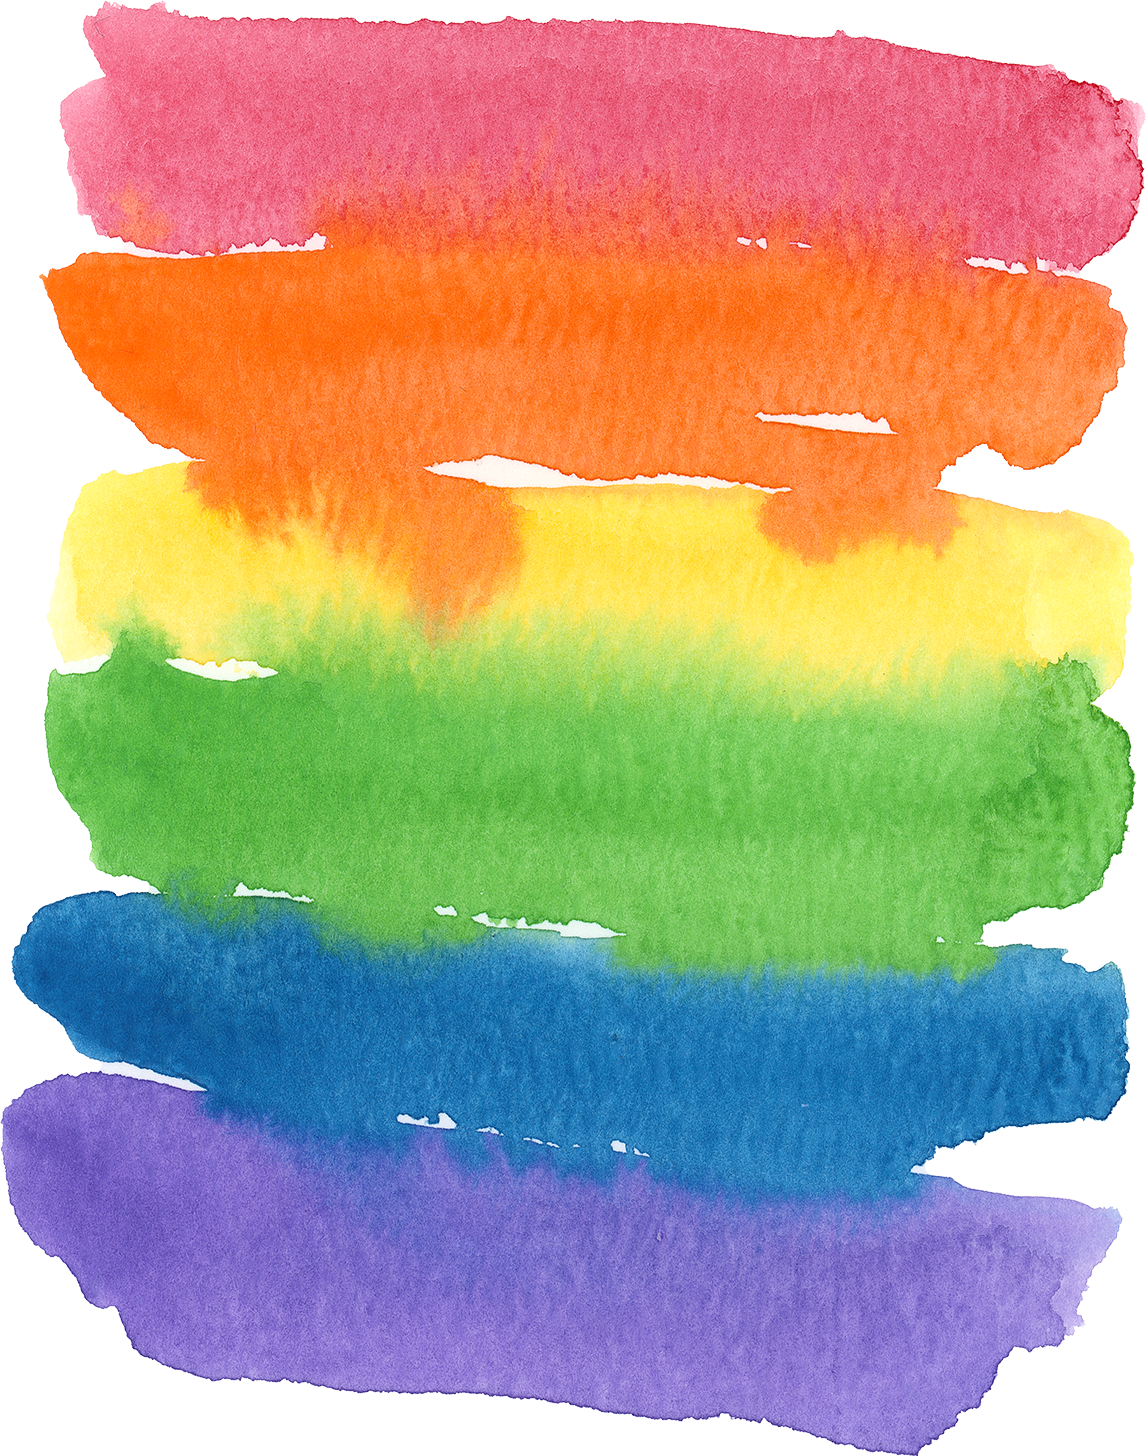
Timelapse video of rainbow watercolor stripes being made into a surface pattern design in Procreate.
Watercolor paintings possess a unique charm and beauty that can be further enhanced by transforming them into seamless repeating surface patterns. With the help of digital tools like Procreate and a scanner, artists can effortlessly create captivating designs suitable for textiles, wallpapers, and various other applications. In this post, we will explore the process of scanning a watercolor painting and using Procreate to transform it into a seamless repeating surface pattern design. Let's dive in!
Tools and Materials: Before we begin, make sure you have the following tools and materials:
Watercolor painting: Create a stunning watercolor artwork on high-quality paper.
Scanner: Use a scanner to capture a high-resolution digital image of your watercolor painting. I use the Epson V600.
iPad: Ensure you have an iPad with Procreate installed.
Procreate: Download and familiarize yourself with the Procreate app, a powerful digital painting and design tool available for iOS devices.
A nice drink. Ok, maybe you don’t really need that one, but I love having a hot cup of tea while I work.
Step-by-Step Guide:
Scan your watercolor painting: Place your watercolor painting on the scanner bed and carefully scan it at a high resolution. Aim for a minimum resolution of 300 DPI (dots per inch) to ensure optimal image quality.
Import the scanned image into Procreate: Transfer the scanned image to your computer and open Procreate. Create a new canvas in Procreate with the same dimensions as your scanned image. Import the scanned image onto the canvas as a new layer. You can also use your phone to take a picture. I recommend taking a picture in natural light, but not in direct sunlight.
Clean up the image: If your painting has a white background, use the eraser tool in Procreate to clean up any unwanted marks, smudges, or imperfections in the scanned image. This step ensures that the final pattern design is seamless and visually appealing. For paintings with color from edge to edge, we will be using the smudge tool, but more on that later.
Define the seamless repeat area: Determine the area of the painting you want to use for the repeating pattern. Select a rectangular portion of the image and duplicate it on a new layer. Align the duplicated layer seamlessly with the original, ensuring the edges blend seamlessly.
Create a repeating pattern: With the duplicated layer selected, tap the "Actions" menu and choose "Canvas" > "Crop and Resize." Increase the size of the canvas, extending it to the right or bottom to make room for the repeated pattern. For my horizontal watercolor stripes, I just doubled the width of my canvas.
Reflect and duplicate: Select the duplicated layer, tap the "Transform" tool, and choose "Flip Horizontal" or "Flip Vertical" to reflect the layer. Move the reflected layer next to the original, aligning them seamlessly.
Duplicate layers: Duplicate your working layer twice (I always keep an extra on hand). After duplicating twice you will have three identical layers.
Move and blend: With snapping and magnetics turned on in “Selection” menu (that little pointer icon), move one of the duplicate layers halfway up the canvas; you’ll know it’s in the right spot when the gold line shows in the middle of your canvas. Next, select another of the duplicate layers and move it halfway down the canvas and merge the moved layers together. Blend the edges of each layer to ensure a seamless transition between them using the smudge tool. Play around with different brushes to get the effect your want.
Refine and adjust: Take the time to refine and adjust the pattern design as needed. Use Procreate's various brushes, blending modes, and adjustment tools to enhance colors, add textures, or create new elements within the pattern. To help hide seams, I’ll often add splatter or watercolor stamps to the area.
Export and save: Once you are satisfied with your design, export the final pattern as a high-resolution image. Save it in a format suitable for your intended application, such as PNG or JPEG.
Showcasing and printing: Share your seamless repeating surface pattern design with the world! Display it on your portfolio, social media platforms, or consider printing it on various products like fabrics, wallpapers, or stationery.
The process of transforming a watercolor painting into a seamless repeating surface pattern using Procreate opens up endless possibilities for artists and designers. By combining traditional watercolor techniques with digital tools, you can create captivating patterns suitable for a range of applications. Follow these steps, experiment with different designs, and let your creativity flourish as you unlock the potential of seamless repeating patterns in the digital realm. Enjoy the journey of turning your beautiful watercolor paintings into stunning surface pattern designs using Procreate!

